How to Use Cricut Explore Air 2: An Easy Guide
Isn’t it fun to create your first-ever crafting project using the Cricut machine? I am a professional crafter, and I had the same feeling when I made my first craft. Creating projects with a Cricut machine is easy. But, if you are a novice, then you might need some guidance.
To help you with that, I will share all the fundamental knowledge on how to use Cricut Explore Air 2. In addition, I will tell you about the setup of the Cricut Explore machine, supply requirements, and a step-by-step guide to making a project. So, keep reading this specific blog post till the end to learn every step thoroughly.
How to Set up a Cricut Explore Air 2 Machine?
Before you learn to use Cricut Explore Air 2, it is necessary to learn the setup process. Here is how to do that.
- For the first step, you have to unbox your Explore Air 2 machine and turn it on.
- After that, keep the machine within 10-15 feet range of the device you want to connect to.
- Next, you have to connect both devices using the USB cable or Bluetooth compatibility.
- Now, download and install the Cricut Design Space app on your PC/smartphone.
- And then, open the Cricut app and log in with your account.
- To complete your Cricut machine setup, choose the Machine Setup option.
- Now, your device will scan for your machine name and show it on the display.
- Click on the Cricut Explore Air 2 machine option to complete the setup process.
If you are having any issues with your machine setup, then you can connect to brand customer care or seek experts. They can provide you with a comprehensive guide on how to use Cricut Explore Air 2.
What Supplies Are Required to Make a Project on Cricut Explore Air 2?
Here are the essential supplies requirements you should gather before you start working on your project. Here is the list of supplies you need to make.
- Cricut Explore Air 2 machine
- Cricut Design Space app
- Cricut cutting machine
- Vinyl
- While blank mug
- Weeding tool
- Transfer tape and others.
How to Use Cricut Explore Air 2 for Creating a Project?
After your Cricut Explore Air 2 Machine setup and gathering all the essential supplies, you can jump right to the steps of making the project. Here is the stepwise guide you need to follow for that.
Step 1: Making a Design
- Firstly, launch the Cricut Design app on your computer or smartphone.
- After that, insert a design into a fresh canvas.
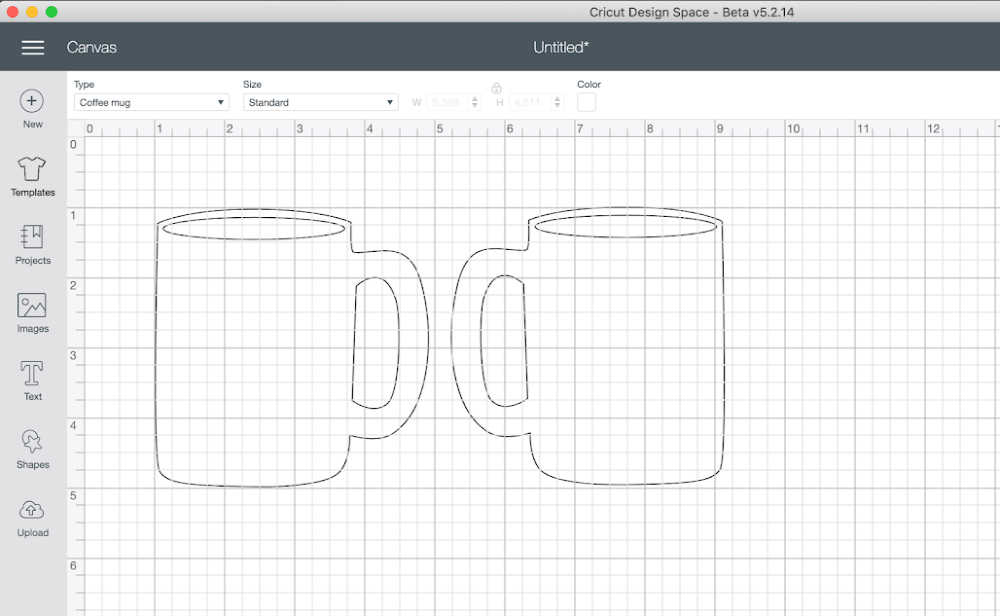
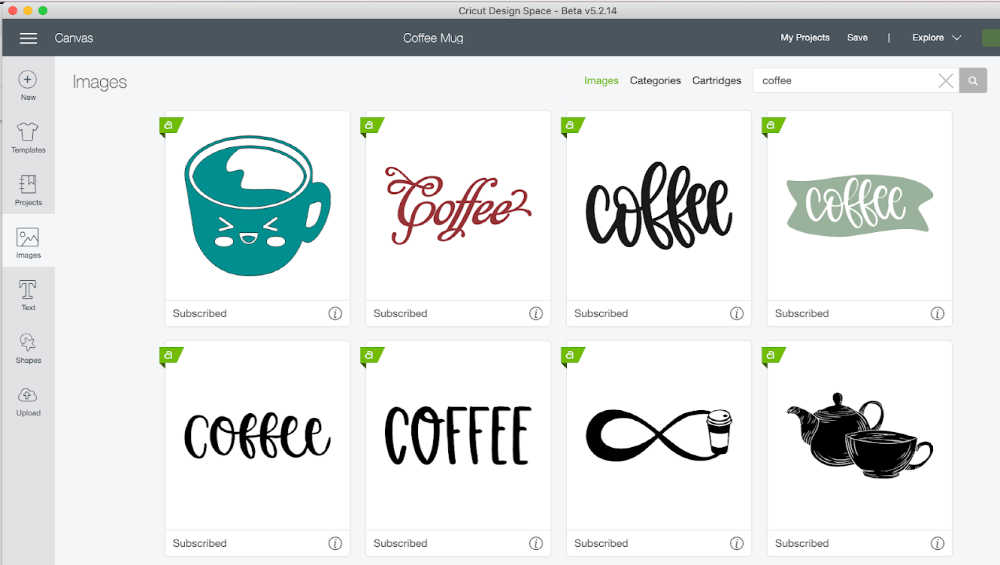
- Next, search for the picture of the coffee mug by going to the Image section.
- And then, bring the design to your cup and align it according to your choice.
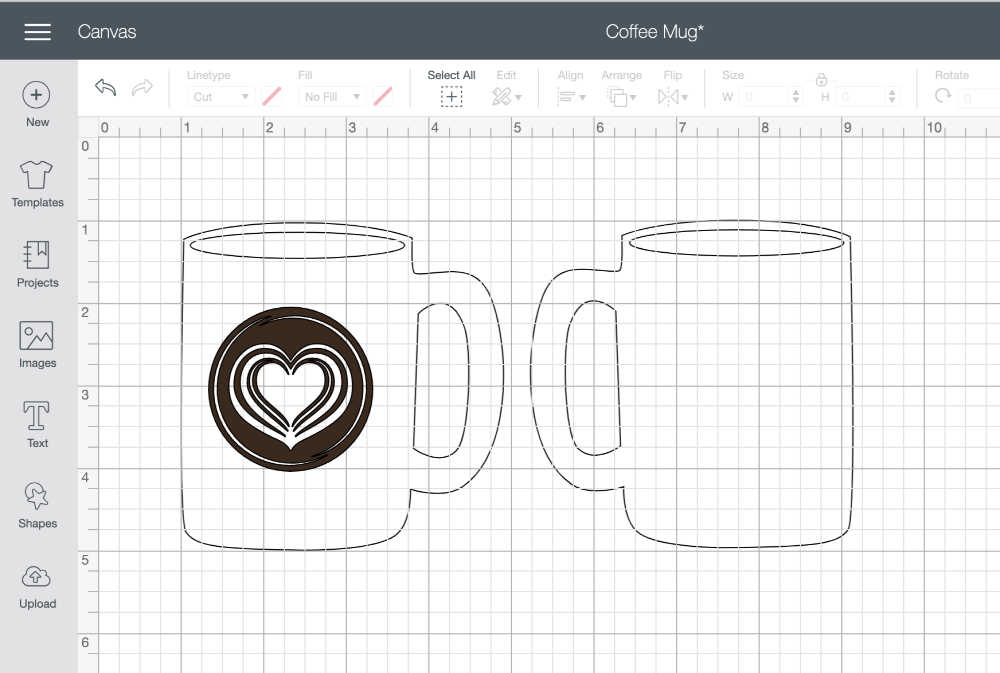
- Once your design is complete then, choose the Make It option to send the design for cutting.
- Next, choose the machine name and materials on the screen to move forward.
Step 2: Cutting the Design on Your Cricut Explore Air 2
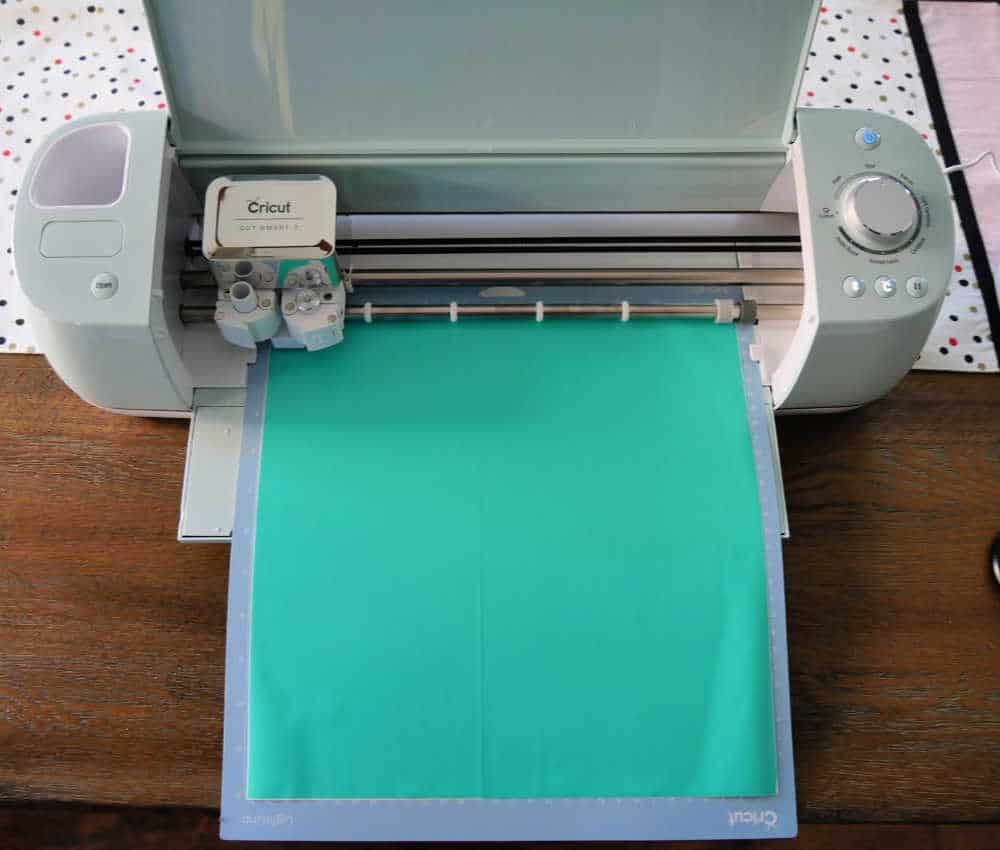
- Now, take the chosen material (vinyl) and place it on your cutting mat.
- After that, load the mat to your cutting machine properly, as shown in the below image.
- Next, choose the option to start the cutting procedure.
- Afterward, wait for the cutting process to complete.
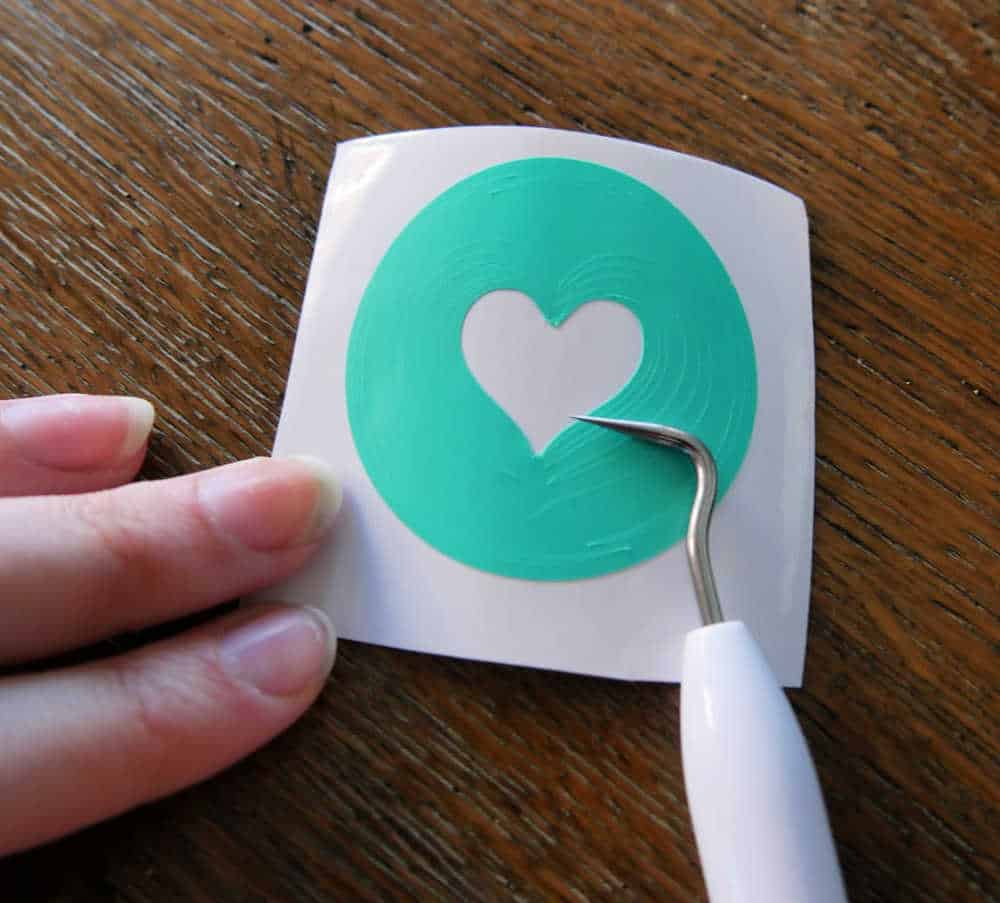
- Now, use the weeding tools to remove the extra parts from your cut vinyl design.
Step 3: Apply the Design to Your Blank Cup
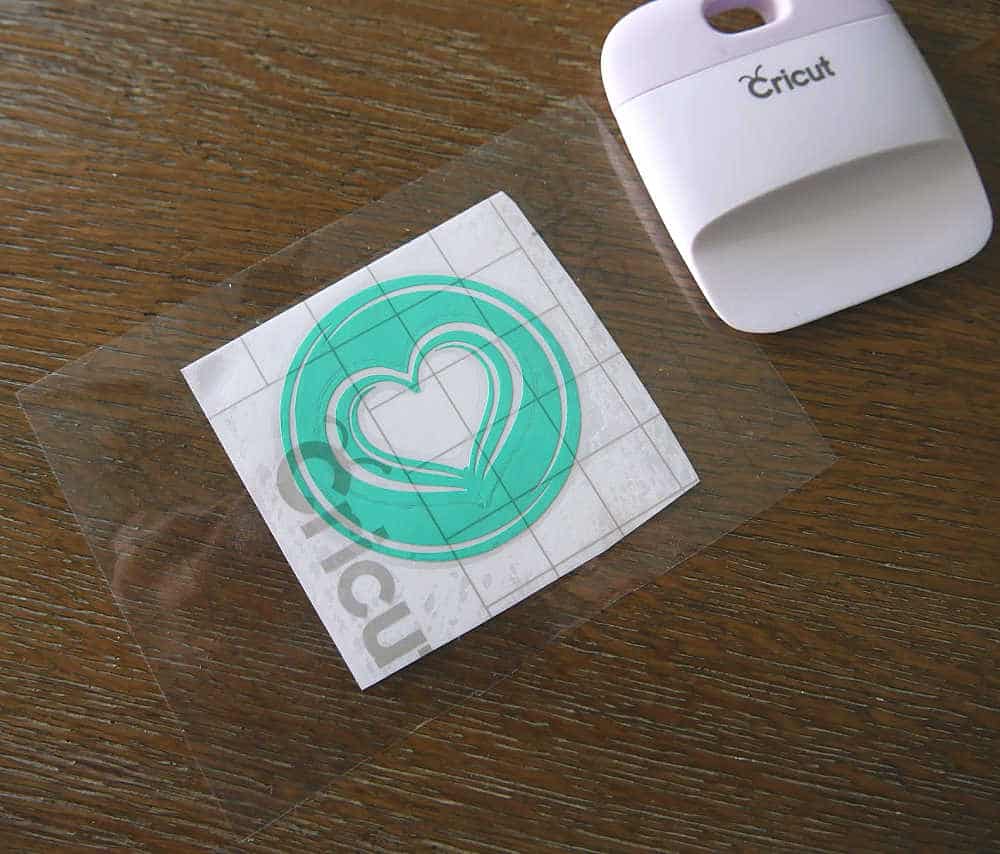
- Once the design cut is complete, please attach it to the transfer tape.
- Now, if you need to apply the design to your black cup and use the scraper tool, stick it perfectly.
- After that, remove the transfer tape from the product.
- Here you go! Your first-ever Cricut project is complete.
Frequently Asked Questions
How to Use Pen on Cricut Explore Air 2?
These are the steps you need to follow to use a pen with the Explore Air 2 machine.
- On the Cricut app, you have to choose a design that you want to draw on a product.
- After that, send the design to your cutting machine to draw.
- When the display tells you to attract the Cricut pen, then insert the pen in clamp A.
- Also, load the paper on the machine to draw or write on it.
- Then, select the option to start the process.
- Wait for the process to finish and then unload the design.
- Finally, you can use the design for further processes.
What Projects Can I Make With Cricut Explore Air 2?
There are a plethora of projects you can make with your Explore Air 2 machine. Making projects with the Explore Air 2 machine is easy and fun. Here are some quick DIY projects you can try on your Cricut Explore machine.
- Takeaway Pie Boxes
- Cake Toppers
- Banners
- Vinyl Face Planters
- Customized T-shirts
- Personalized Hoodies
- Metal Earring
- Leather Keychain
- Etch Glass
- Board signs, and others.
What Devices Are Compatible With Cricut Explore Air 2?
Cricut Explore Air 2 is a versatile cutting tool that is compatible with various devices. It offers wired and wireless connections to your computer and smartphone. It seamlessly connects to Mac, Windows, iOS, and Android devices. Plus, to complete the machine setup process, you need to download the compatible app Cricut Design Space. If you want to learn how to use Cricut Explore Air 2, then go to the brand website or connect to the customer support team.
Source :- https://newmachineprocess.com/how-to-use-cricut-explore-air-2-an-easy-guide/


Comments
Post a Comment