Beginner’s Guide to Cricut Joy Setup on Your Device
Let’s give you a big round of applause as you learn about the Cricut Joy setup. With this compact, lightweight, and portable craft plotter, you can create any craft from any material with the snap of a finger. Besides, the Cricut Joy is one of the simplest and easiest cutting machines to craft last-minute projects. Apart from that, with its built-in Bluetooth technology, DIYers have no trouble accessing this craft plotter.
Alt Test: The Cricut Joy machine
Other than that, the Cricut Joy app guides beginners to complete projects with precision. On the other hand, it is not a small matter whether you are the current owner of this machine or have recently become its owner. You will need to read each section of this blog to learn about the supplies and the Cricut Joy setup process directly.
Step 1: Unbox the Cricut Joy Box
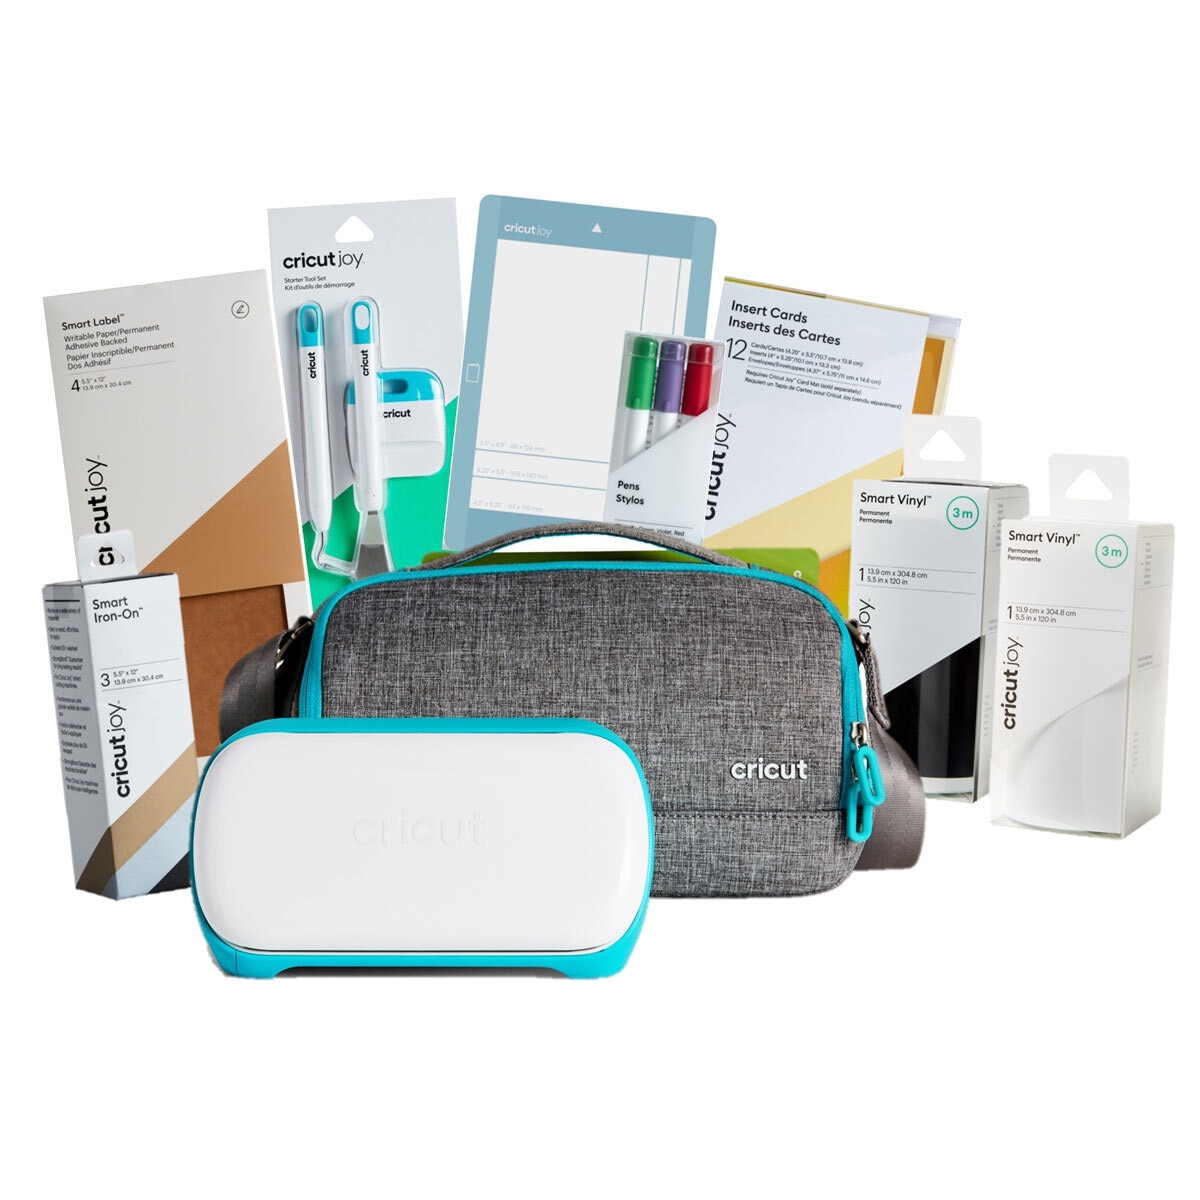
After receiving the delivery at my doorstep, the first thing I did was unwrap the package. Also, it would help if you were careful while unwrapping the supplies, as you might break them before commencing the Cricut Joy machine setup process. No doubt, there are some of the supplies that you need to buy separately as per your project type. The list of the materials/ supplies that you will get along with the Joy cutting machine are as follows:
- Blade + Housing
- Fine Point Pen, Black (0.4mm)
- StandardGrip mat
- A welcome card & USB cable
- Power adapter
- Cricut Access 1-month free trial
- 50 ready-to-make projects
- Cricut iron-on
- Weeding tool
Alt Text: Cricut Joy tools and supplies
After opening the box, you need to proceed to the next step of the Cricut Joy setup, which is to download Design Space.
Step 2: Download Cricut Design Space
In addition, Design Space is a companion app that runs together with Joy’s cutting machine. All users must get this design software on their respective PCs and mobile devices. In addition, it is an easy-to-learn and free app that is compatible with desktop and mobile devices. However, the DIYer needs to ensure that their devices satisfy the system requirements or not. The crafters can download the app from the Cricut official website or install it from the Play Store or App Store.
Alt Text: Cricut app image library
Step 3: Cricut Joy Setup on Your Device
Following the installation of the Cricut app on your respective devices, the user needs to proceed toward the Cricut Joy machine setup procedure. To finish the setup process correctly, examine the below steps:
- First, open the Cricut app and tick the Menu bar given on the top left side of the page.
- Next, select the New Machine Setup and click the Cricut Joy option.
Alt Text: The Cricut new machine setup page
- Now, plugin your cut-die machine and let your device try to connect with it.
Alt Text: The Cricut Joy plugin
- Afterward, check that your device’s Bluetooth is on and connect them wirelessly with each other.
- Following this, update your craft plotter firmware as per the on-screen instructions.
Alt Text: Firmware Update page
- After the update is complete, you can now take a test cut by choosing the design as per your wish.
Alt Text: Click on the Test Cut image option
To further set up this Cricut model, brace yourself to create your custom project with the Joy machine.
Step 4: Create a Custom Project
Equally important, remember to complete this step while crafting the process. I will make you familiar with this craft plotter and how to make a custom project.
- Following the completion of the Cricut app installation and Cricut Joy setup, I will sign in to my Design Space account.
- Now, create your design using its tools, choose the material, and do the on-screen instructions.
- Next, load the material into your cutting machine and turn it on.
Alt Text: Load the material into the machine
- After the cutting process comes to an end, I will unload the material and start weeding out the design.
Alt text: Weed out your design
- Last but not least, I will attach my final Cricut Joy custom project anywhere you want.
Alt Text: Stick the final design on your bottle
Frequently Asked Questions
Question: How Can I Pair My Cricut Joy to Windows?
Answer: Read these steps to pair Cricut Joy with Windows via Bluetooth:
- First, check that your Cricut Joy cutting machine is on and within 10-15 ft range of your computer.
- Next, enable your computer Bluetooth and then tick the Add Bluetooth or other device.
- Now, you need to wait till your system is looking for your nearby machine.
- Afterward, select your machine model, and the pairing process will be complete.
Question: How to Connect Cricut Joy to Android Devices?
Answer: Go through the following steps to connect Cricut Joy with Android devices:
- Start the process by activating your device Bluetooth from the Settings tab.
- Now, you need to wait while the detection process is going on.
- Next, choose your cutting machine from the list visible on your device screen.
- Finally, your cutting machine and Android device connection process are complete.
Question: What Projects Can I Make With My Cricut Joy?
Answer: There are several custom projects that you can create with Cricut Joy. You can create projects for various events or businesses. Have a look at some of the famous Cricut Joy projects:
- Custom mug
- Coasters
- Greeting cards
- Gift Tags
- Stickers
- Iron-on T-shirts
- Leather earrings
- Labels
- Onesies
- Christmas lanterns
- Tote bags


Comments
Post a Comment